Showing posts with label Remy. Show all posts

20 February 2015

Skipping in Celaction

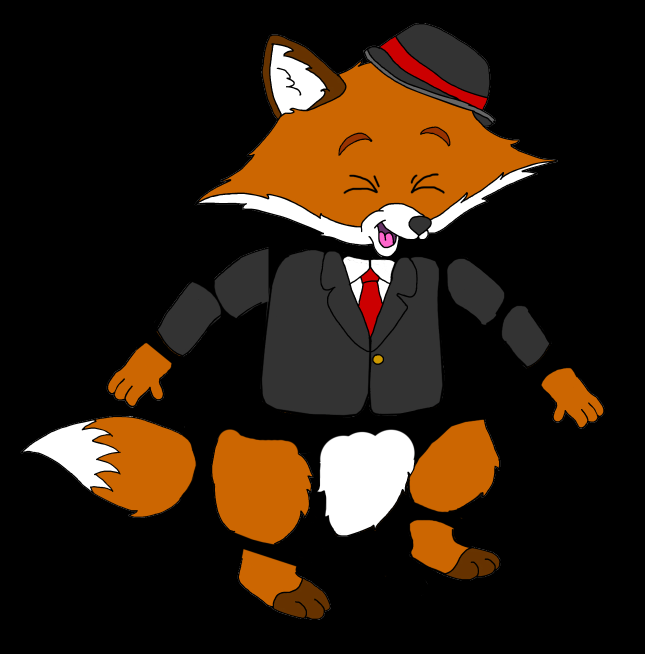
For our motion studies module we were introduced to Celaction to use as an alternative to Adobe Flash. A coloured jpeg drawing of Remy was put into Photoshop so that his body could be broken down into layers, which were each named accordingly.


Elements of the body taken apart in Photoshop.

This Photoshop file could then be imported to the pool in Celaction so that a hierarchy could be created to link the joints, which were then anchored to move at their appropriate pivot points. As inverse kinematics don't work well in 2D animation, the root was based in the character's pelvis. These layers were also maneuvered in the Actor Display menu to ensure parts of the body were not hidden.


The components ordered in an accurate hierarchy.


Two different shapes have been used for the eyes, which can be easily flicked between when necessary. However, the pupils need to be invisible whilst the blink shape is selected.

The two eye shapes: open and blinking.

When imported, Remy was much larger that the designated stage, so the camera size was increased. The required key poses and breakdowns were positioned in the dope sheet and an ease in/out algoraithm inserted the inbetween frames.


Although it seems much quicker to animate in Celaction, the animation looks a lot stiffer than drawing frame-by-frame in Flash.

23 January 2015

Remy in Full Colour

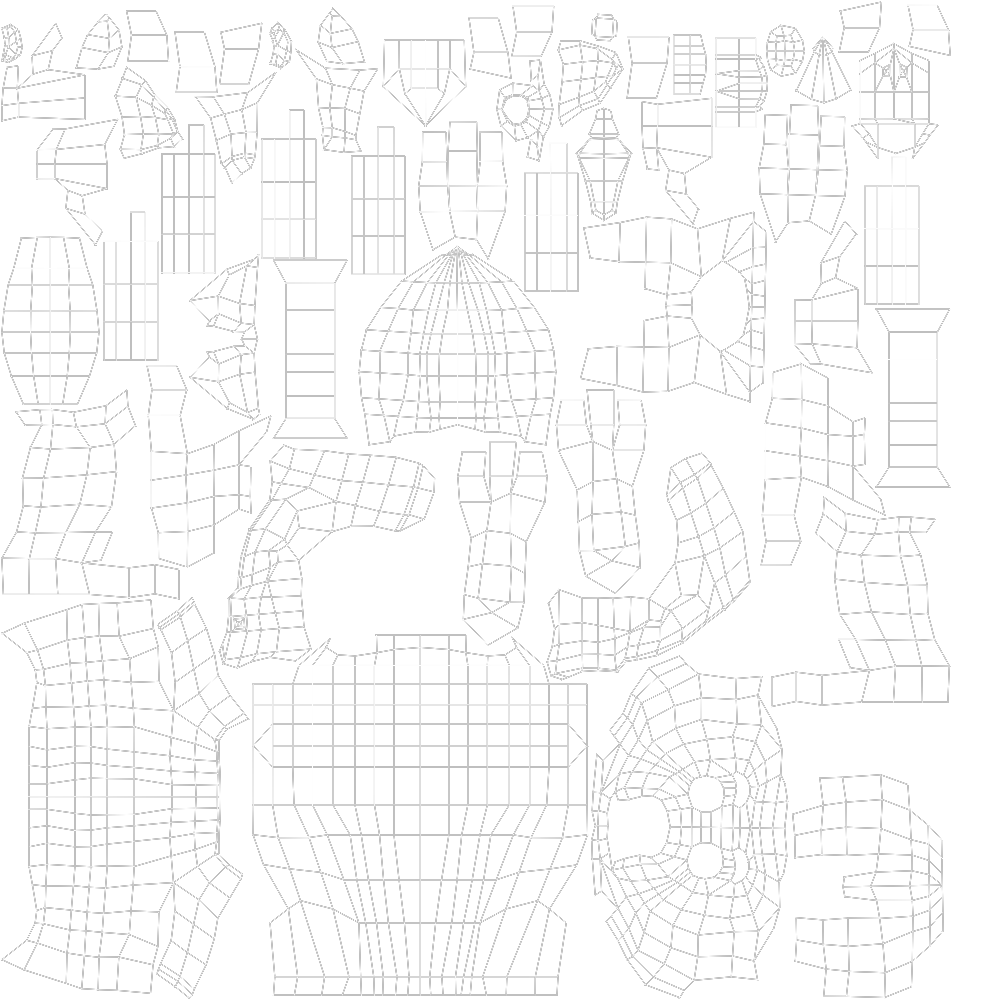
The textured UV snapshot.
Texturing the model proved to be very time consuming but completing the task left me with a feeling of accomplishment. I had many errors with rendering the textures with mental ray - many of which quickly resulted in a navy blue screen. I overcome this by exporting the texture file as multiple different image formats and found that bitmap solved the problem.


21 January 2015

Remy's UVs

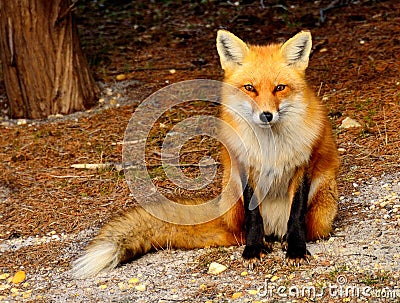
UV unwrapping took much longer than anticipated, but is finally complete. Although Remy is not a photo-realistic fox, I am building a small collection of fox images from Google to use as reference for his potential colour and textures:
Reference for the body and tail.
Reference for the face - particularly mouth and ears.


When I began texturing the model, I found that (when applied) the textures were very low resolution. I have taken a new UV snapshot of approximately 8000x8000, which seems to have solved the issue.
A UV snapshot of the Remy model.

15 January 2015

Remy's Retopology

Prior to retopology, the Remy model consisted of over 9 million polygon faces and it was crucial that the density of the mesh was lowered for later rendering and animating.

I found myself starting the process from scratch multiple times due to the edge flow looking inconsistent, which was particularly noticeable on the face. I overcame this by deleting half of the model and then mirroring the geometry in order to achieve symmetry.


The Remy model after retopology.
The new model is made up of 1,528 faces and can be easily manipulated in Maya without the software freezing up. 


I have since realised that leaving the mouth as an empty hole looks strange, so I created a tongue and teeth. To add further detail to the tongue I extruded the central edge inwards to create the natural crease.

The next goal is to unwrap the UVs for texturing in Adobe Photoshop. I would like to experiment with fur as opposed to a flat texture, but this may take too long to render in time to meet the set deadline.

1 January 2015

Evolution of Remy


The first and final design.


This assignment requires me to create a character that can be modelled and textured using Autodesk Maya and Mudbox. I used elements from the original drawing to create multiple sketches of how the character might look, and then decided upon a final design that would be suitable for the task at hand. I could then create drawings of him from the front and side to be used as templates for modelling in Maya.

Through the rough shaping stage I strictly worked to my image planes, however I decided to make the legs longer and his head smaller. The suit will be modelled onto the character, but the hat is currently a separate model that can be removed from his head. As the character is somwhat simplistic, I was able to complete this stage fairly quickly before importing it into Mudbox for the rough sculpt.
Stage 1: Rough shaping in Autodesk Maya

Stage 2: Rough sculpt in Autodesk Mudbox
Although I have previously used Maya for modelling in college, I have had little experience with Mudbox. The result of the rough sculpt is somewhat sloppy, however it was my first attempt at using a graphic tablet. The model will now be imported back to Maya for retopology.