The process begun with the creation of a spline, which was then turned into a piece of 3D geometry. The fillet tool was used on some of the sharper corners to make them desirably rounder. These elements were then duplicated and attached with the bridge tool.

Separate polygon shapes were created, modified and positioned to represent the buttons and joystick. The screen face was duplicated and hidden, before a more shapely screen was put in place.

The duplicated object was unhidden and positioned to act as a piece of glass - which would later be altered with mental ray materials.

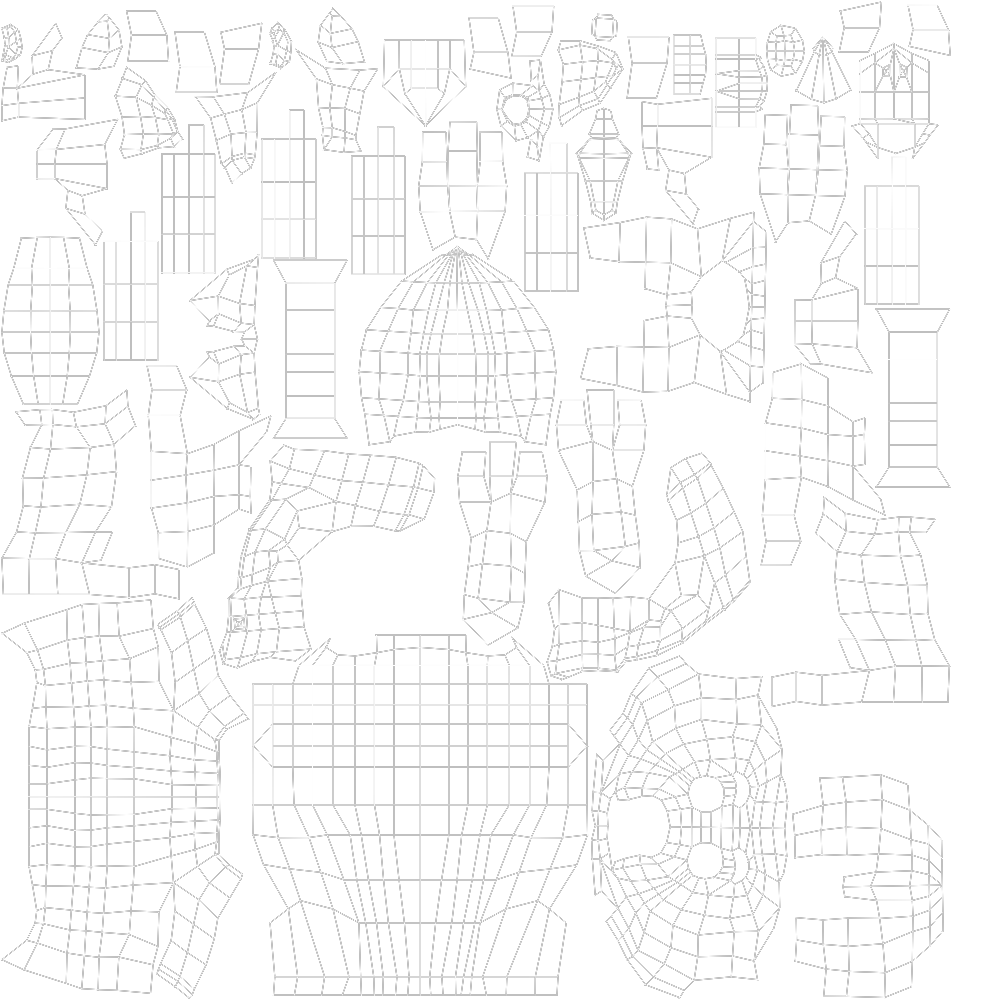
At this stage, the UV unwrapping could begin. All of the processes so far have been fairly similar to that of Autodesk Maya, so it hasn't been too difficult to follow through. I had so far followed the tutorial very closely, so I decided to use the texturing stage as a chance to make the model my own. As 'Spyro the Dragon' is my childhood favourite, I chose an array of images to use in my Photoshop file.
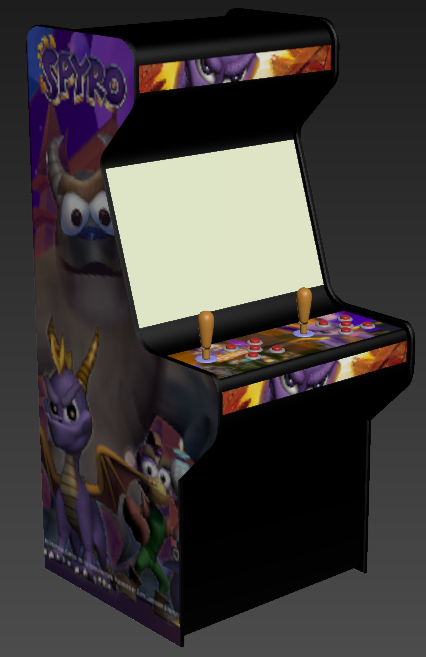
Using the material editor, I created several different plastics for the buttons, joysticks and rims which were individually altered to be either matte or glossy with varying colours. The backplate was input into the settings for the initial render:

I was pretty happy with the progress at this stage, but there were still changes that needed to be made. To begin with, the output ratio for the render was set to 1280x720 and use of the safeframes allowed me to reposition the object to fill the frame.
A skylight was created with a HDR spherical map input to gain better control of the scene's lighting. However, this was still very dark, so the lighting was ramped. A polygon plane was inserted to act as the ground, allowing a shadow to be placed.

I'm feeling pretty happy about my progress so far, so I am aiming to work towards building my knowledge every day through the use of Digital Tutors and YouTube tutorials until I feel comfortable enough to try my own projects.